

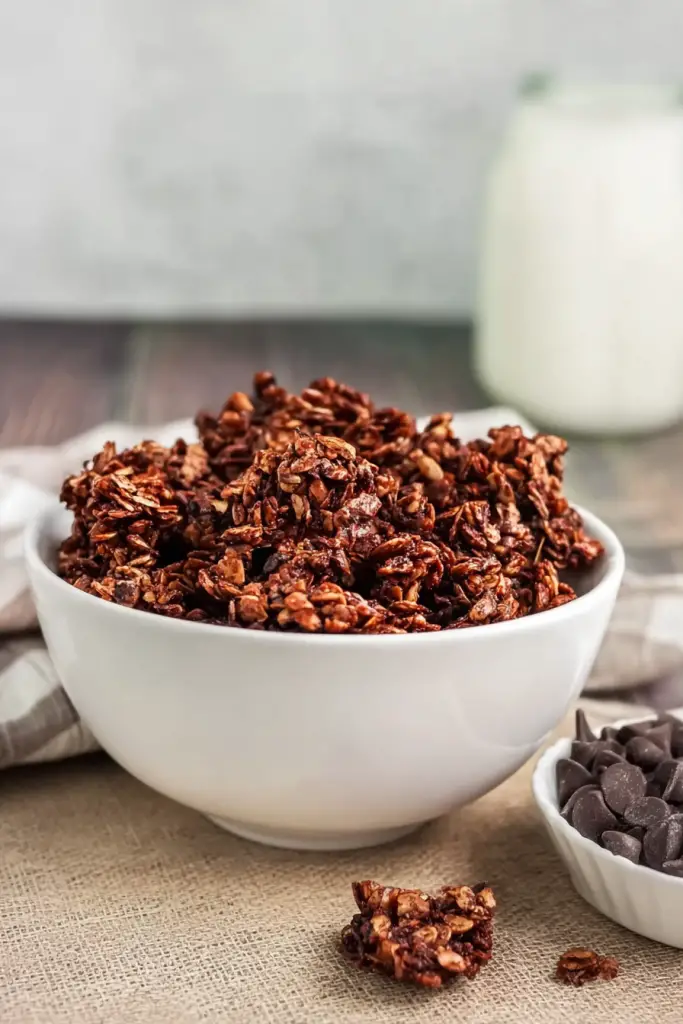
There’s nothing quite like the aroma of homemade chocolate granola baking in your oven. The sweet scent of cocoa and toasted oats fills my kitchen every weekend. I’ve been perfecting this chocolate granola recipe for years, and it’s finally ready to share.
I discovered my love for homemade granola by accident. Store-bought versions were either too sweet or lacking flavor. Plus, they contained preservatives I couldn’t pronounce. Making my own seemed like the obvious solution.
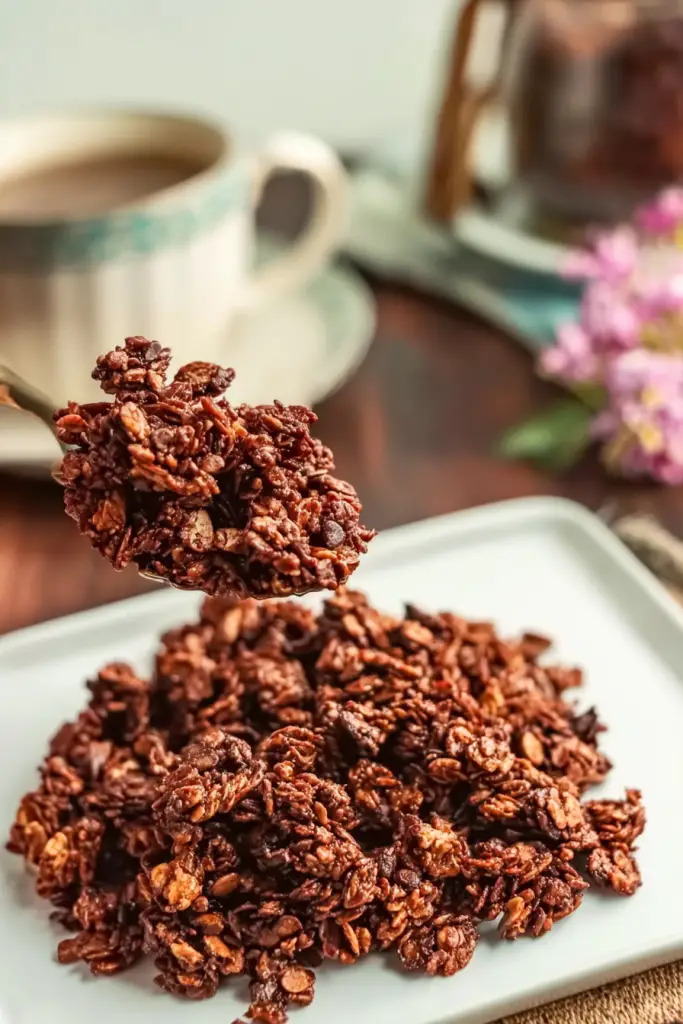
This chocolate granola combines the best of both worlds. It satisfies my sweet tooth while providing nutritious ingredients. The cocoa powder creates rich chocolate flavor without overwhelming sweetness. Maple syrup adds natural sweetness that complements the nuts perfectly.
What makes this recipe special is its incredible versatility. I’ve served it as breakfast cereal, sprinkled it over yogurt, and even eaten it as an afternoon snack. My family requests it constantly, especially my kids who think they’re getting dessert for breakfast.
The beauty of homemade granola lies in its simplicity. You control every ingredient that goes into your body. No mysterious additives or excessive sugars. Just wholesome oats, nuts, and natural sweeteners working together.
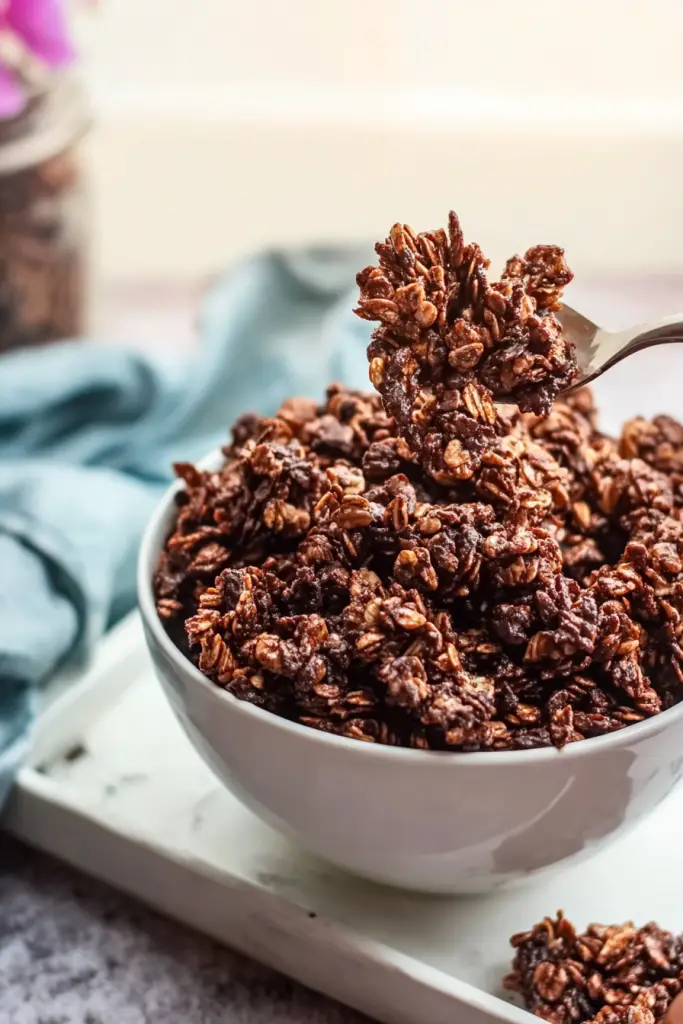
I love how this recipe creates those coveted granola clusters. The secret is the right balance of wet and dry ingredients. Too much liquid makes soggy granola. Too little creates dusty crumbs. This recipe hits the perfect sweet spot.
The chocolate drizzle is completely optional, but I highly recommend it. It transforms regular granola into something special. My guests always ask for the recipe when I serve this at brunches.
Making granola at home is surprisingly economical too. A single batch costs less than premium store brands. You get more quantity and better quality for your money.
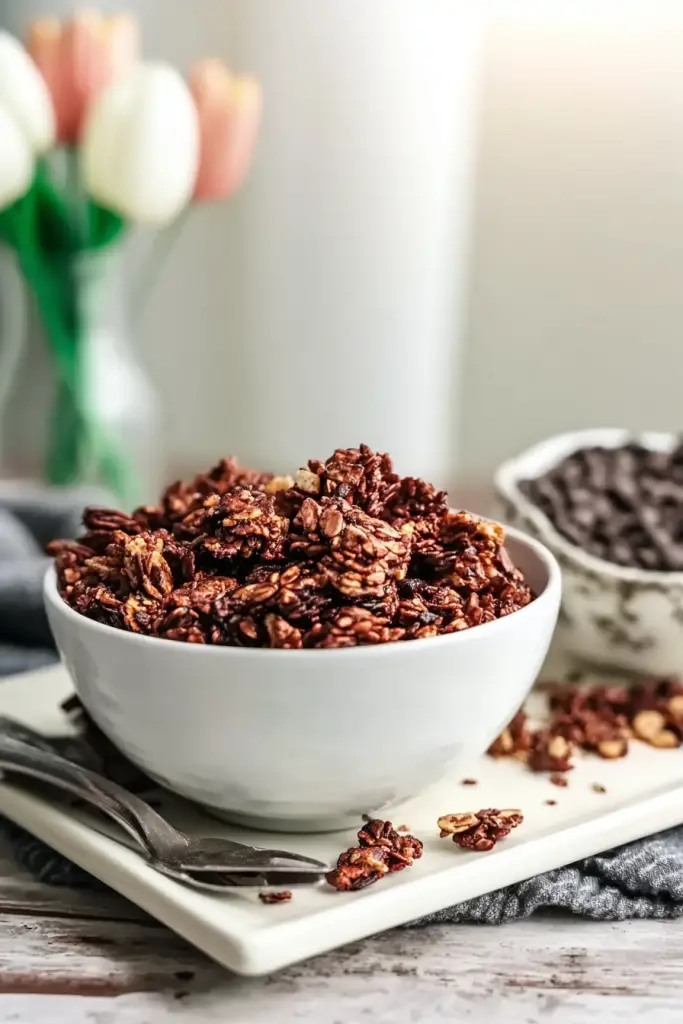
This chocolate granola keeps well in airtight containers for up to two weeks. Though in my house, it never lasts that long. We go through batches quickly because everyone loves snacking on it.
The recipe works beautifully for various dietary needs. Use certified gluten-free oats for gluten-free diets. Swap dairy-free chocolate chips for vegan versions. The flexibility makes it perfect for entertaining guests with different preferences.
I’ve experimented with countless granola combinations over the years. Some were too bland, others too complicated. This chocolate version strikes the perfect balance between indulgence and nutrition. It’s become my signature recipe that friends and family request repeatedly.
Ready to make your kitchen smell amazing and create something deliciously satisfying? Let’s dive into this foolproof chocolate granola recipe that will become your new favorite breakfast staple.
Prep Time: 10 minutes | Cook Time: 15 minutes | Total Time: 25 minutes
Servings: 4 | Difficulty: Easy
Ingredients, Instructions & Tips
Ingredients
| Ingredient | Quantity | Notes |
|---|---|---|
| Rolled oats | 2 cups | Use certified gluten-free if needed |
| Chopped nuts | 2 cups | Walnuts, almonds, or pecans work best |
| Cocoa powder | 1/4 cup | Unsweetened, high-quality preferred |
| Salt | 1/4-1/2 tsp | Adjust based on nut saltiness |
| Coconut oil | 1/4 cup | Can substitute butter or olive oil |
| Maple syrup | 1/3 cup | Pure maple syrup recommended |
| White sugar | 1/4 cup | Coconut sugar works as substitute |
| Vanilla extract | 1 tsp | Pure vanilla preferred |
| Chocolate Drizzle (Optional) | ||
| Chocolate chips | 1/4 cup | Use dairy-free if necessary |
| Coconut oil | 1/4 tsp | For melting chocolate chips |
Instructions
Step 1: Prep Your Oven Preheat your oven to 300°F (150°C). Line a large baking sheet with parchment paper. This prevents sticking and makes cleanup easier.
Step 2: Mix Dry Ingredients Combine oats, chopped nuts, cocoa powder, and salt in a large mixing bowl. Stir everything together until evenly distributed. The cocoa powder should coat the oats lightly.
Step 3: Prepare Wet Mixture In a separate bowl, whisk together coconut oil, maple syrup, sugar, and vanilla extract. If your coconut oil is solid, warm it slightly until liquid. Mix until sugar begins dissolving.
Step 4: Combine Everything Pour the wet mixture over the dry ingredients. Stir thoroughly until everything is well-coated. The mixture should hold together when squeezed but not be soggy.
Step 5: Bake to Perfection Spread the granola mixture evenly on your prepared baking sheet. Press it down lightly to create clusters. Bake for 12-15 minutes, stirring once halfway through.
Step 6: Cool and Add Chocolate Let granola cool completely on the baking sheet. For the chocolate drizzle, melt chocolate chips with coconut oil in 30-second microwave intervals. Drizzle over cooled granola.
Pro Tips for Perfect Chocolate Granola
Salt Matters: Taste your nuts first. Salted nuts need only 1/4 teaspoon salt total. Unsalted nuts require the full 1/2 teaspoon for balanced flavor.
Cluster Creation: Don’t stir too frequently while baking. Press the mixture down before baking to encourage cluster formation. Larger pieces stay crunchier longer.
Oil Flexibility: Each oil creates different flavors. Coconut oil adds subtle sweetness. Olive oil creates nutty depth. Butter provides rich, classic taste.
Nut Substitutions: Pistachios, cashews, and pumpkin seeds work wonderfully. Mix different nuts for varied textures and flavors in every bite.
Chocolate Options: Skip the drizzle and add chocolate chips after cooling for chunky chocolate pieces. Or spread melted chocolate evenly for consistent coverage throughout.
Storage Success: Store completely cooled granola in airtight containers. Mason jars work perfectly and look beautiful in your pantry.
The key to exceptional homemade granola is patience during cooling. Resist the urge to taste immediately after baking. Hot granola seems soft but crisps beautifully as it cools.
This recipe doubles easily for meal prep enthusiasts. Make large batches on Sunday for the entire week’s breakfasts. Your future self will thank you for the preparation.
Serving Ideas, Storage & FAQs
Creative Ways to Enjoy Your Chocolate Granola
This chocolate granola transforms ordinary meals into special treats. I love its versatility beyond traditional cereal applications.
Breakfast Perfection: Serve with cold milk or your favorite plant-based alternative. Add fresh strawberries or bananas for extra sweetness and nutrition.
Yogurt Paradise: Layer with Greek yogurt and fresh berries for protein-packed parfaits. The chocolate flavor pairs beautifully with vanilla or plain yogurt.
Dessert Magic: Sprinkle over ice cream for instant sophistication. Mix into cookie dough or brownie batter for added crunch and flavor.
Snack Attack: Keep small portions in mason jars for grab-and-go snacking. It’s perfect for hiking, work breaks, or afternoon energy boosts.
Gift Giving: Package in decorative jars with ribbon for thoughtful homemade gifts. Everyone appreciates receiving something made from scratch with love.
Storage and Freshness Tips
Proper storage keeps your chocolate granola fresh and crunchy for weeks. Store completely cooled granola in airtight containers at room temperature. Glass jars or sealed plastic containers work perfectly.
Avoid refrigerator storage, which can create moisture and soggy textures. Room temperature storage maintains optimal crunchiness and flavor concentration.
Label containers with preparation dates. Fresh granola tastes best within two weeks, though it remains safe longer when stored properly.
For extended freshness, freeze portions in freezer-safe bags. Frozen granola keeps for up to three months without quality loss.
Frequently Asked Questions
Can I make this recipe gluten-free? Absolutely! Use certified gluten-free rolled oats instead of regular oats. All other ingredients are naturally gluten-free. Check your chocolate chips for gluten-containing additives.
What nuts work best in chocolate granola? Walnuts, almonds, and pecans create the best texture and flavor combinations. Their mild flavors complement chocolate without competing. Avoid strongly flavored nuts that might overwhelm the cocoa.
Can I reduce the sugar content? Yes, but be careful not to reduce too much. Sugar helps create those desirable clusters and balances the cocoa’s natural bitterness. Try reducing by half initially and adjust to taste.
How do I prevent my granola from burning? Bake at 300°F maximum and stir once during baking. Every oven varies, so watch carefully during the final minutes. Granola should be golden brown, not dark.
Can I substitute the maple syrup? Honey works as a direct substitute for maple syrup. Agave nectar also works well for vegan versions. Each sweetener creates slightly different flavors and textures.
Why isn’t my granola forming clusters? Insufficient liquid or over-stirring during baking prevents cluster formation. Press the mixture firmly before baking and avoid excessive stirring. The binding ingredients need contact to create clusters.
Is this recipe suitable for meal prep? Perfect for meal prep! Make large batches on weekends for easy weekday breakfasts. Portion into individual containers with your preferred milk or yogurt for grab-and-go convenience.
This chocolate granola recipe has become my family’s weekend tradition. The simple process creates something special that brings us together. There’s satisfaction in making wholesome food from scratch that tastes better than anything store-bought.
Try this recipe once, and it’ll become your go-to granola forever. The combination of chocolate, crunch, and homemade goodness is simply irresistible.


