

There’s nothing quite like waking up to the sweet aroma of fresh Belgian waffles cooking in your kitchen. The moment I take that first bite—crispy on the outside, impossibly fluffy inside—I’m transported to a cozy Sunday morning. This Belgian waffle recipe has become my go-to breakfast when I want something special without spending hours in the kitchen.
I’ve made countless batches of these waffles over the years. Each time, they turn out perfectly golden and delicious. What I love most is how simple the process really is. You don’t need fancy techniques or hard-to-find ingredients. Just basic pantry staples and about 25 minutes from start to finish.
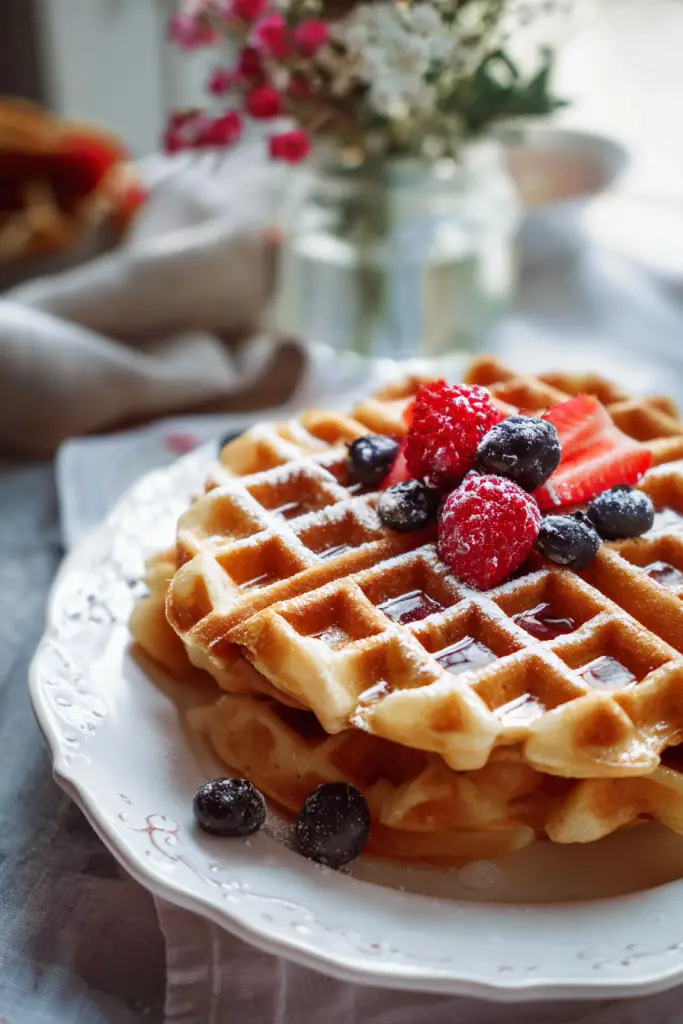
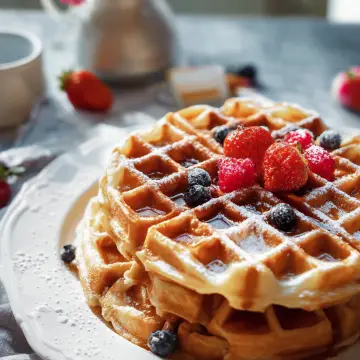
The beauty of Belgian waffles lies in their distinctive deep pockets. These aren’t your average thin breakfast waffles. The deep grooves catch all those delicious toppings—syrup, whipped cream, fresh fruit—making every bite a perfect combination. I remember the first time I made these for my family. Everyone kept reaching for seconds, and my kitchen became the weekend breakfast destination.
Why This Recipe Works
This Belgian waffle recipe delivers consistently excellent results because of its perfectly balanced batter. The combination of baking powder and baking soda creates the ideal lift and texture. Cold milk helps create steam during cooking, which contributes to that coveted crispy exterior. Meanwhile, the right ratio of flour to liquid ensures the inside stays tender and fluffy.
I’ve tested this recipe dozens of times, adjusting proportions until I found the sweet spot. The sugar content is just enough to add subtle sweetness without overpowering your toppings. The melted butter enriches the batter, giving each waffle a beautiful golden color and rich flavor. Vanilla extract adds warmth and depth that makes these waffles taste homemade in the best possible way.
Why You’ll Love This Belgian Waffle Recipe
I absolutely love how versatile these waffles are for any occasion. Whether I’m making a quick weekday breakfast or hosting a special brunch, this recipe never disappoints. The straightforward method means even beginner cooks can achieve professional-looking results. No complicated techniques or special skills required.
The customization possibilities are endless, which keeps things exciting. Some mornings I go classic with butter and maple syrup. Other times I pile on fresh strawberries and whipped cream. My kids love adding chocolate chips to the batter for an extra-sweet treat. You can even make savory versions with cheese and herbs for something completely different.
This recipe scales easily too. Need waffles for two people? Cut the recipe in half. Feeding a crowd? Double or triple it without any issues. The batter comes together quickly, and once your waffle maker is hot, you’ll have a beautiful stack ready in minutes. Plus, leftover waffles freeze beautifully for busy mornings when you need breakfast fast.
Recipe Timing:
Prep Time: 10 minutes | Cook Time: 15 minutes | Total Time: 25 minutes
Servings: 4 | Difficulty: Easy
Ingredients, Method & Instructions
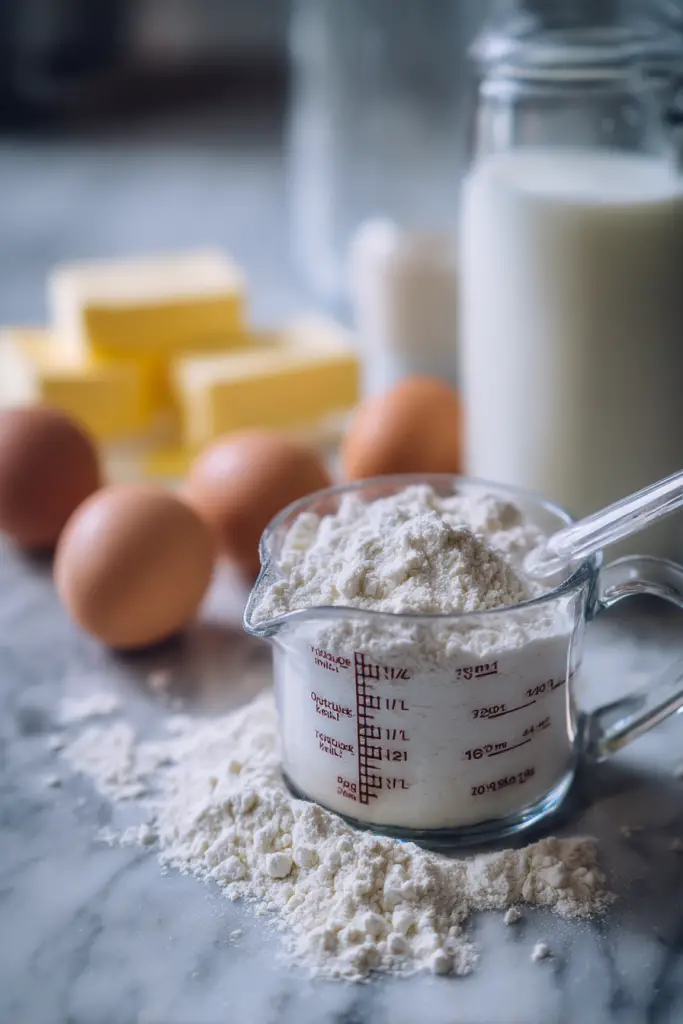
Ingredients
| Ingredient | Quantity | Notes |
|---|---|---|
| All-purpose flour | 2 1/4 cups | Spoon and level for accuracy |
| Granulated sugar | 1/4 cup | Adds subtle sweetness |
| Baking powder | 1 1/2 teaspoons | Provides lift and texture |
| Baking soda | 1/2 teaspoon | Helps with browning |
| Salt | 1/2 teaspoon | Enhances overall flavor |
| Cold milk | 1 1/2 cups | Keep refrigerated until use |
| Melted butter or canola oil | 1/4 cup | Butter preferred for flavor |
| Vanilla extract | 1 teaspoon | Pure extract works best |
| Eggs, beaten | 2 large | Room temperature is fine |
Easy Method for Making Belgian Waffles
This straightforward approach gets you perfect waffles every single time. I use this method most often because it’s quick and foolproof.
Step 1: Whisk Together Dry Ingredients
In a large mixing bowl, combine the flour, sugar, baking powder, baking soda, and salt. I like using a whisk to ensure everything is evenly distributed throughout. This step is important because it prevents lumps and ensures consistent flavor in every waffle. Take about 30 seconds to really mix these ingredients well.
Step 2: Combine Wet Ingredients
Create a well in the center of your dry ingredients. This little technique helps prevent overmixing later. Pour in the cold milk, melted butter, vanilla extract, and beaten eggs all at once. Now whisk everything together until the batter becomes smooth and consistent.
The texture should resemble thick pancake batter or white school glue. If your batter seems too thick, add milk one tablespoon at a time. Too thin? A tablespoon of flour will fix it. I’ve found this consistency creates the perfect balance between crispy and fluffy.
Pro tip: Don’t worry if you see a few small lumps. Overmixing develops gluten, which makes waffles tough and chewy instead of tender.
Step 3: Preheat the Waffle Maker
Turn on your Belgian waffle maker and let it heat completely. Most models have an indicator light that tells you when they’re ready. While waiting, I brush the waffle plates generously with melted butter. This prevents sticking and adds extra flavor to the outside of each waffle.
Some people use cooking spray, but I prefer butter for the golden color it creates. Make sure you get into all those deep grooves where batter might stick.
Step 4: Pour and Cook the Batter
Once your waffle maker is hot, pour about 1/2 cup of batter into the center. The batter will spread as you close the lid, filling those characteristic deep pockets. Close the lid gently but firmly.
Cooking time varies by waffle maker, typically 3-5 minutes. My machine beeps when waffles are done, but you can also check by lifting the lid slightly. The waffle should be golden brown and release easily. If it sticks, it needs more time.
Repeat this process with remaining batter. I usually get about 4-5 large Belgian waffles from this recipe.
Pro tip: Keep finished waffles warm in a 200°F oven while you cook the rest. Place them directly on the oven rack so they stay crispy.
Step 5: Serve and Enjoy
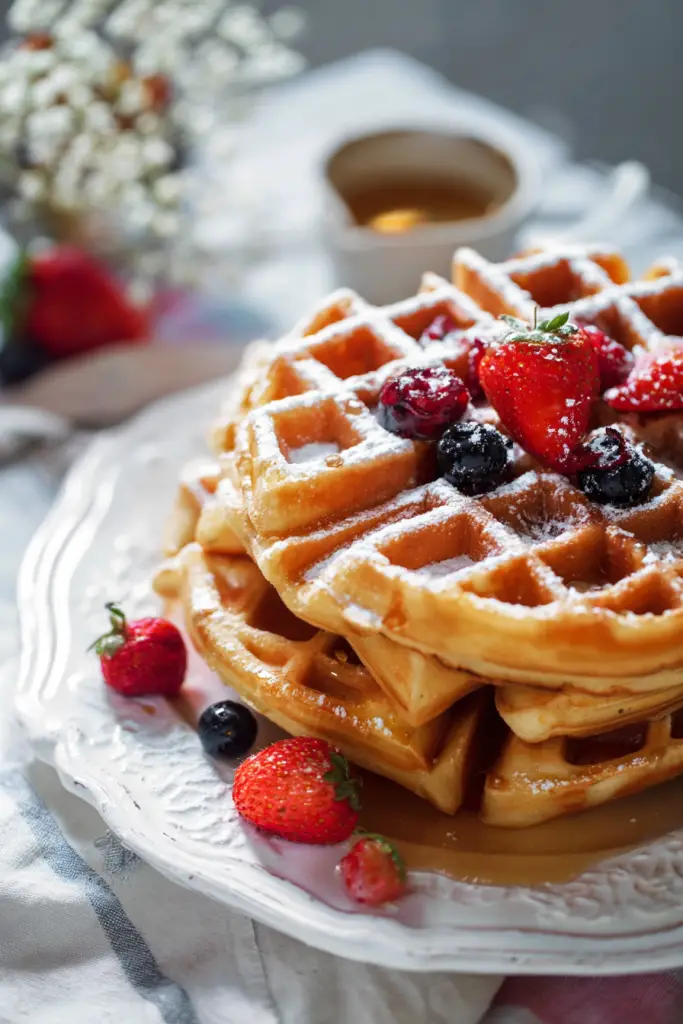
Transfer your warm waffles to plates and add your favorite toppings immediately. I love the classic combination of butter and pure maple syrup. The butter melts into those deep pockets while the syrup pools perfectly in every square.
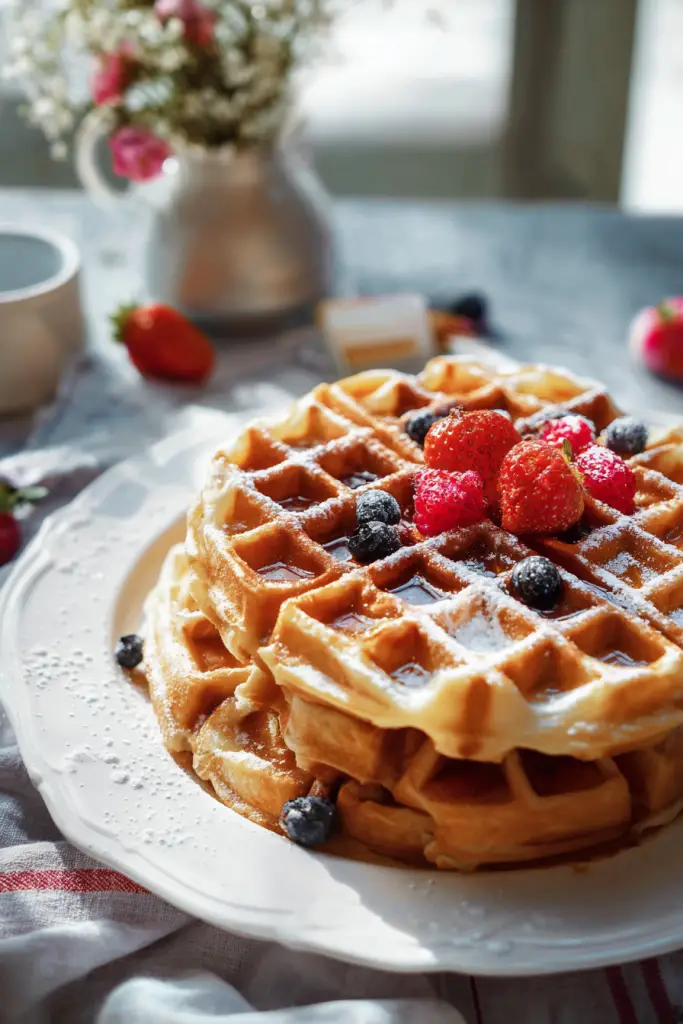
Fresh berries add brightness and color. Whipped cream makes everything feel special. A dusting of powdered sugar looks beautiful for presentation. Sometimes I’ll add sliced bananas and a drizzle of honey for natural sweetness.
The key is serving these waffles hot. That contrast between the crispy exterior and soft interior is what makes Belgian waffles so special.
Serving Suggestions
I’ve discovered so many delicious ways to serve these waffles over the years. For a classic breakfast, pair them with crispy bacon and fresh orange juice. The salty-sweet combination is absolutely perfect.
Try topping your waffles with mixed berries and a dollop of Greek yogurt for something lighter. Sliced strawberries with whipped cream creates an elegant brunch presentation. Chocolate lovers should try adding chocolate chips to the batter and topping with chocolate syrup.
For special occasions, I make a berry compote by simmering fresh or frozen berries with a little sugar. The warm fruit sauce over crispy waffles is absolutely divine. Caramelized bananas with a sprinkle of cinnamon also work wonderfully.
Don’t forget savory options too. Top waffles with fried chicken for a Southern-inspired meal. Or try cream cheese and smoked salmon for a sophisticated brunch option. The mild flavor of these waffles makes them incredibly versatile.
Tips, Variations, Storage & FAQs
Tips for Success
After making these waffles countless times, I’ve learned several tricks that guarantee perfect results every time.
Preheat Properly: Always let your waffle maker heat completely before adding batter. A fully preheated maker creates that signature crispy exterior. I usually wait an extra minute after the indicator light comes on.
Don’t Overmix: Mix your batter just until combined. A few lumps are perfectly fine and actually preferable. Overmixing develops gluten, resulting in tough, chewy waffles instead of light, fluffy ones.
Use Cold Milk: Cold liquid hitting the hot waffle maker creates steam, which helps create crispy exteriors. I keep my milk in the refrigerator right until I need it.
Butter the Plates: Even with nonstick waffle makers, I always brush the plates with melted butter. This prevents sticking and adds delicious flavor and color.
Watch the Steam: When steam stops escaping from your waffle maker, your waffle is usually done. This visual cue works across different machines and takes the guesswork out.
Keep Warm Properly: Stack finished waffles directly on your oven rack at 200°F. Placing them on a plate makes them soggy. The oven rack keeps them crispy until serving time.
Variations
One of my favorite things about this recipe is how easily it adapts to different flavors and dietary needs.
Chocolate Chip Belgian Waffles: Fold 1/2 cup chocolate chips into the prepared batter. The chocolate melts slightly during cooking, creating pockets of gooey sweetness. My kids request these for their birthdays every year.
Blueberry Waffles: Add 1 cup fresh or frozen blueberries to the batter. If using frozen, don’t thaw them first. The berries burst during cooking, creating beautiful purple streaks and sweet pockets of fruit.
Cinnamon Sugar Waffles: Add 1 teaspoon ground cinnamon to the dry ingredients. Mix 2 tablespoons sugar with 1/2 teaspoon cinnamon and sprinkle over waffles immediately after cooking. The combination tastes like cinnamon toast in waffle form.
Savory Herb Waffles: Reduce sugar to 1 tablespoon. Add 1/4 cup shredded cheese and 1 tablespoon fresh chopped herbs to the batter. These pair beautifully with eggs and bacon for a complete savory breakfast.
Whole Wheat Waffles: Replace half the all-purpose flour with whole wheat flour. This adds nutty flavor and extra fiber. You might need to add a tablespoon more milk since whole wheat absorbs more liquid.
Gluten-Free Belgian Waffles: Substitute all-purpose flour with your favorite gluten-free flour blend. Use a 1:1 baking blend for best results. The texture will be slightly different but still delicious.
Storage Tips
These waffles store beautifully, making them perfect for meal prep or saving leftovers.
Refrigerator Storage: Let waffles cool completely to room temperature. Stack them with parchment paper between each waffle to prevent sticking. Place in an airtight container and refrigerate for up to 3 days. The parchment paper makes it easy to grab just one or two waffles at a time.
Freezer Storage: For longer storage, freezing works wonderfully. Cool waffles completely, then wrap each one individually in plastic wrap. Place wrapped waffles in a freezer-safe bag or container. They’ll keep for up to 2 months without losing quality.
Reheating Methods: The toaster is my preferred reheating method. It restores that crispy exterior perfectly. Pop frozen waffles directly into the toaster on medium-high heat. For refrigerated waffles, use a lower setting.
You can also reheat in a 350°F oven. Place waffles directly on the oven rack for 5-7 minutes until heated through and crispy. The microwave works in a pinch but won’t restore crispiness. If microwaving, use 30-second intervals to avoid making them rubbery.
Frequently Asked Questions
Can I make the batter ahead of time?
Yes, but with some considerations. The batter will keep in the refrigerator for up to 24 hours. However, the leavening agents start working immediately when mixed with liquid. Waffles made from fresh batter will be slightly fluffier than those from stored batter. If using stored batter, give it a gentle stir before cooking and expect slightly denser waffles.
Why are my waffles sticking to the waffle maker?
Sticking usually happens for three reasons. First, the waffle maker might not be hot enough. Always preheat completely before adding batter. Second, you might need more fat on the plates. Brush generously with melted butter before each waffle. Third, you might be opening the lid too soon. Wait until steam stops escaping and the waffle releases easily.
Can I substitute ingredients in this recipe?
Many substitutions work well. Replace all-purpose flour with whole wheat flour for a healthier option. Use almond milk or oat milk instead of regular milk for dairy-free waffles. Coconut oil works as a butter substitute. However, I don’t recommend replacing the eggs as they provide essential structure. For egg-free options, you’d need a different recipe formulated without eggs.
How do I know when my waffles are done?
Look for several signs. Most waffle makers have indicator lights that signal completion. Steam will stop escaping when waffles are done. The waffle should be golden brown and release easily when you lift the lid slightly. If it resists, close the lid and give it another 30 seconds. Undercooked waffles will be pale and soft rather than crispy.
Can I double this recipe?
Absolutely! This recipe doubles and triples beautifully. Just multiply all ingredients by the same amount. The cooking method remains exactly the same. I often double the recipe when hosting brunch or when I want extras for the freezer. Having homemade Belgian waffles ready in the freezer is a game-changer for busy mornings.
Final Thoughts
This Belgian waffle recipe has earned its place as a staple in my kitchen. The combination of crispy edges and fluffy centers never gets old. Whether you’re making breakfast for yourself or feeding a crowd, these waffles deliver every single time.
The simple ingredient list and straightforward method mean you can whip these up any day of the week. No special skills required, just a waffle maker and basic pantry staples. I love that they’re versatile enough for both sweet and savory applications, adapting to whatever mood strikes.
Give this recipe a try and discover why Belgian waffles remain such a beloved breakfast classic. Once you taste that perfect crispy-fluffy combination, you’ll understand why I make these waffles again and again. Happy cooking!
Belgian Waffle Recipe
Ingredients
- 2 1/4 cups all-purpose flour
- 1/4 cup granulated sugar
- 1 1/2 teaspoons baking powder
- 1/2 teaspoon baking soda
- 1/2 teaspoon salt
- 1 1/2 cups cold milk
- 1/4 cup melted butter or canola oil
- 1 teaspoon vanilla extract
- 2 eggs beaten
Instructions
- Whisk Together Dry Ingredients
- In a large mixing bowl, combine the flour, sugar, baking powder, baking soda, and salt. Whisk for about 30 seconds until evenly distributed.
- Combine Wet Ingredients
- Create a well in the center of the dry ingredients. Pour in the cold milk, melted butter, vanilla extract, and beaten eggs. Whisk until the batter is smooth and consistent, resembling thick pancake batter. Don’t overmix a few small lumps are fine.
- Preheat the Waffle Maker
- Turn on your Belgian waffle maker and let it heat completely until the indicator light shows it’s ready. Brush the waffle plates generously with melted butter to prevent sticking.
- Pour and Cook the Batter
- Pour about 1/2 cup of batter into the center of the preheated waffle maker. Close the lid gently but firmly. Cook for 3-5 minutes or according to your waffle maker’s instructions, until the waffle is golden brown and releases easily.
- Repeat and Keep Warm
- Repeat with remaining batter. Keep finished waffles warm in a 200°F oven placed directly on the oven rack while cooking the rest.
- Serve
- Transfer warm waffles to plates and top with your favorite toppings such as butter, maple syrup, fresh berries, whipped cream, or powdered sugar.


