

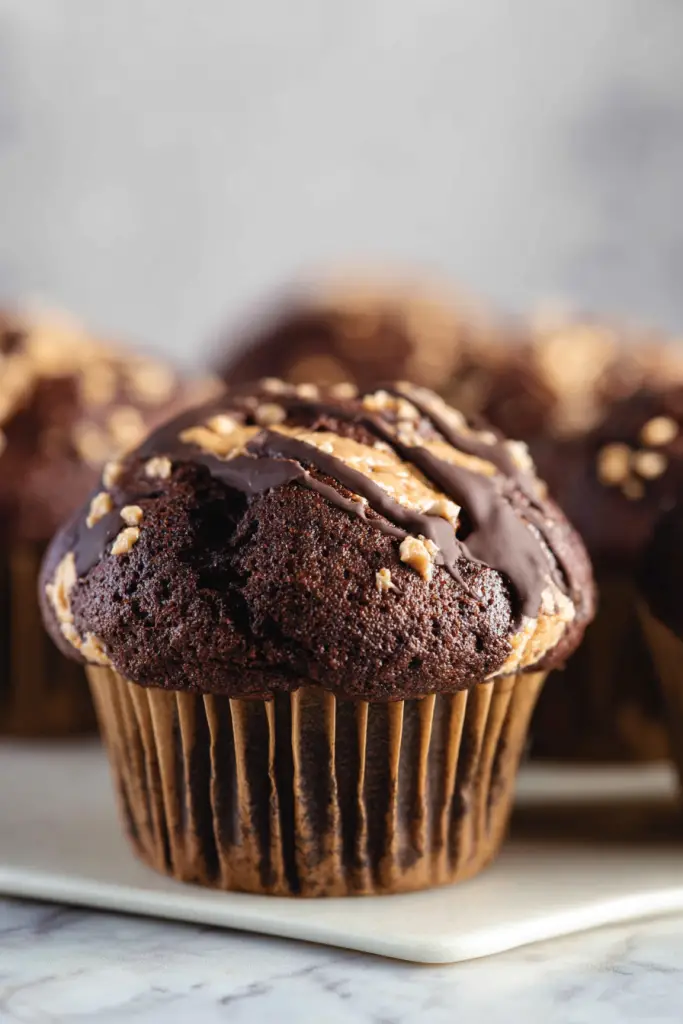
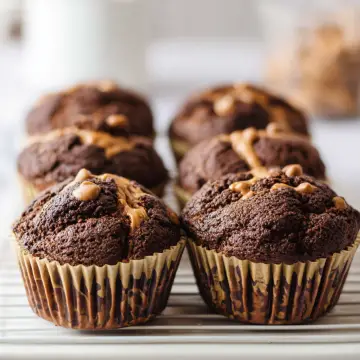
After perfecting muffin recipes for over a year, I’m sharing my ultimate chocolate peanut butter muffins. These bakery-style treats feature perfectly domed tops and incredibly moist texture. The rich chocolate base paired with creamy peanut butter creates an irresistible combination.
I’ve tested countless variations to achieve that perfect balance. These muffins rival any professional bakery with their tall, impressive appearance. The secret lies in my specific technique and ingredient ratios.
Why You’ll Love These Chocolate Peanut Butter Muffins
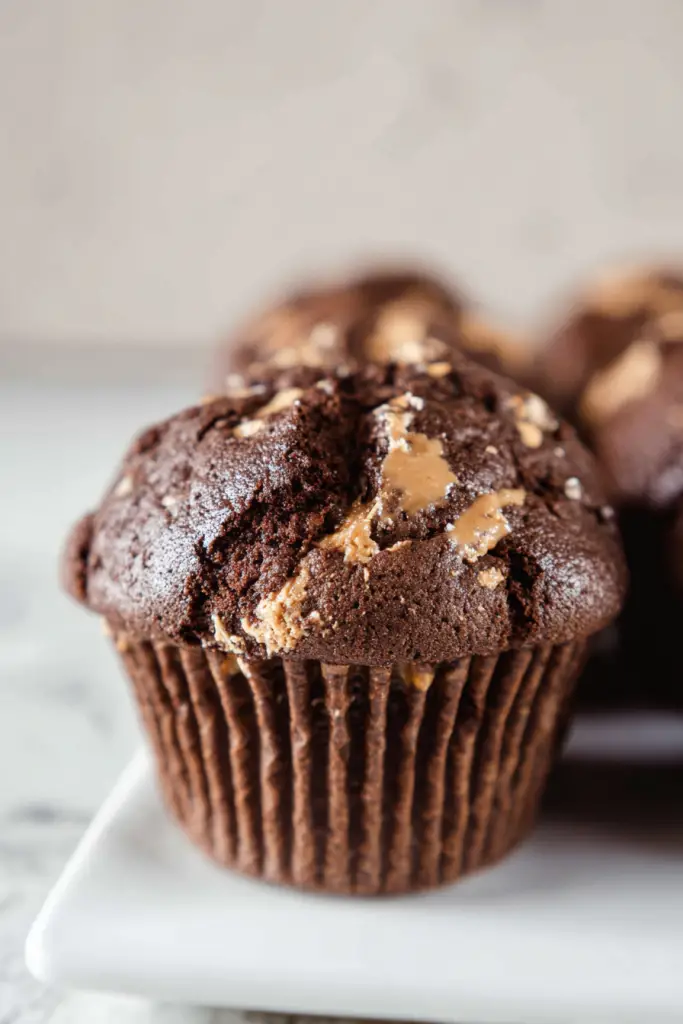
Perfect Flavor Balance: Rich cocoa powder provides deep chocolate notes without overwhelming sweetness. Creamy peanut butter adds nutty richness throughout each bite.
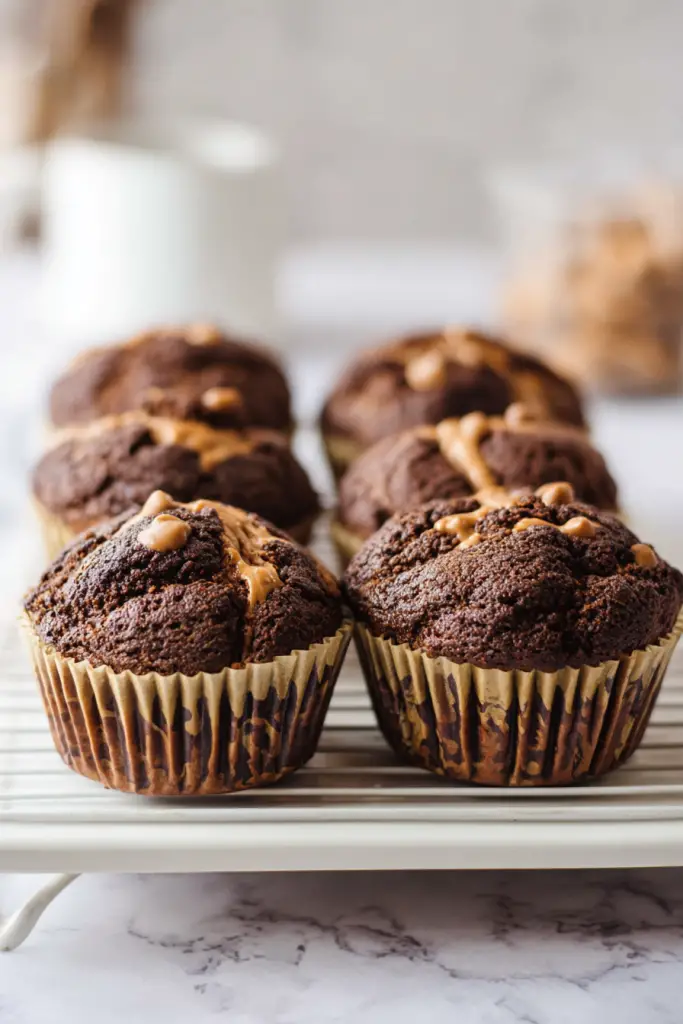
Bakery-Style Presentation: My proven method creates those coveted domed tops. No more flat, disappointing muffins that lack visual appeal.
Simple Pantry Ingredients: Everything you need is likely already in your kitchen. No specialty items or hard-to-find ingredients required.
Incredibly Moist Texture: The combination of buttermilk and vegetable oil ensures tender crumb. These muffins stay fresh for days without drying out.
Versatile Timing: Perfect for breakfast, afternoon snacks, or late-night treats. They satisfy chocolate cravings any time of day.
What Makes This Recipe Special
I’ve spent months perfecting the technique for consistent dome formation. The key involves specific temperature changes and strategic batter placement. My method produces professional results every single time.
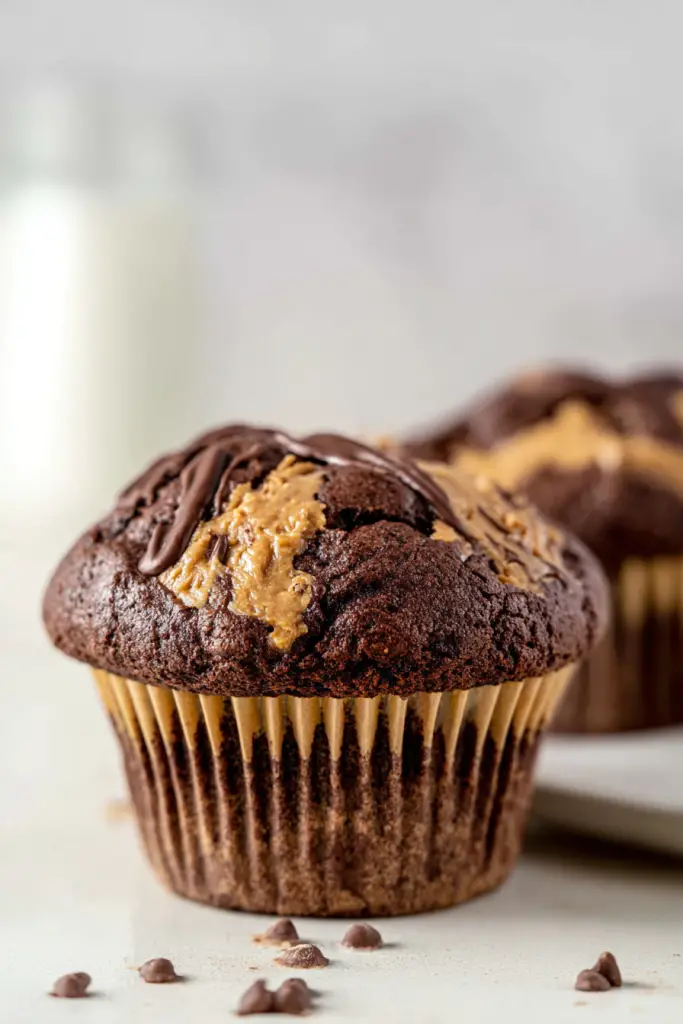
The peanut butter integration technique prevents sinking while creating beautiful marbled patterns. Each bite delivers perfect chocolate-to-peanut-butter ratio without overwhelming either flavor.
Prep Time: 15 minutes | Cook Time: 19 minutes | Total Time: 34 minutes
Servings: 12 muffins | Difficulty: Easy
Ingredients & Detailed Instructions
Essential Ingredients
| Ingredient | Quantity | Notes |
|---|---|---|
| All-purpose flour | 3 cups (360g) | Properly measured using spoon-and-level method |
| Natural unsweetened cocoa powder | 1 cup (84g) | Dutch-processed works too |
| Granulated sugar | 1½ cups (300g) | Creates tender crumb and perfect sweetness |
| Baking powder | 4 tsp | Ensures proper rise and dome formation |
| Baking soda | 1 tsp | Works with buttermilk for extra lift |
| Salt | 1 tsp | Enhances chocolate flavor significantly |
| Large eggs | 3 | Room temperature preferred |
| Buttermilk | 1½ cups (360ml) | Creates tender, moist texture |
| Vegetable oil | ½ cup (118ml) | Keeps muffins incredibly moist |
| Vanilla extract | 1 tsp | Pure vanilla recommended |
| Creamy peanut butter | ⅔ cup (167g) | Room temperature for easy swirling |
Step-by-Step Instructions
Step 1: Prepare Dry Ingredients Combine flour, cocoa powder, sugar, baking powder, baking soda, and salt in medium bowl. Whisk thoroughly to eliminate lumps and ensure even distribution.
Step 2: Mix Wet Ingredients In large mixing bowl, whisk eggs until smooth. Add buttermilk, vegetable oil, and vanilla extract. Stir until completely combined.
Step 3: Combine Batter Gradually fold dry ingredients into wet ingredients using rubber spatula. Mix just until combined – overmixing creates tough muffins. Batter will be quite thick.
Step 4: Rest Period Cover bowl with clean kitchen towel and let batter rest 15 minutes. This crucial step allows flour to hydrate properly. Meanwhile, preheat oven to 425°F (220°C).
Step 5: Prepare Muffin Pan Line 12-cup muffin pan with only 6 paper liners, filling every other cup. This spacing allows proper dome formation without muffins touching.
Step 6: Layer Batter and Peanut Butter Fill each liner with 2 tablespoons batter. Microwave peanut butter for 20-30 seconds until melty but not hot. Drop ½ tablespoon melted peanut butter into each cup. Use toothpick to create gentle swirls.
Add remaining batter, filling liners completely to top. Top each with another ½ tablespoon peanut butter. Swirl again with toothpick for marbled effect.
Step 7: Bake to Perfection Bake at 425°F for exactly 7 minutes. Reduce temperature to 350°F (180°C) without opening oven door. Continue baking 12-14 minutes until toothpick inserted in center comes out clean.
Cool in pan for 5 minutes before transferring to wire rack. Repeat process with remaining batter, starting again at 425°F.
Pro Tips for Success
Temperature Matters: The initial high heat creates steam that lifts muffin tops. Lowering temperature prevents burning while ensuring thorough baking.
Don’t Skip the Rest: Those 15 minutes allow proper hydration and thicker batter consistency. This directly impacts final texture and dome formation.
Fill Completely: Unlike traditional muffin advice, fill liners to the very top. This provides enough batter for impressive height.
Spacing is Key: Using every other muffin cup prevents spreading interference and promotes even browning.
Storage, Variations & FAQ
Storage and Serving
Store cooled muffins in airtight container at room temperature for up to 4 days. For longer storage, wrap individually in plastic wrap and freeze up to 3 months.
Warm frozen muffins in 300°F oven for 5-7 minutes. This restores that fresh-baked texture and enhances peanut butter flavor.
Delicious Variations
Extra Chocolate: Fold in ½ cup mini chocolate chips for additional chocolate bursts throughout.
Crunchy Texture: Use crunchy peanut butter instead of creamy for added texture and nutty flavor.
Peanut Butter Chips: Add ⅓ cup peanut butter chips along with regular peanut butter swirl.
Glaze Option: Drizzle cooled muffins with melted chocolate and peanut butter mixture for extra indulgence.
Troubleshooting Common Issues
Flat Tops: Usually caused by overmixing batter or skipping the rest period. Follow timing exactly for best results.
Dry Muffins: Often from incorrect flour measurement or overbaking. Use kitchen scale for accuracy when possible.
Peanut Butter Sinking: Make sure peanut butter isn’t too hot when adding. Room temperature works best for proper swirling.
Frequently Asked Questions
Can I substitute natural peanut butter for regular creamy peanut butter? Natural peanut butter works but may create slightly different texture. Stir well before using and expect less pronounced swirl patterns.
What if I don’t have buttermilk? Create buttermilk substitute by adding 1 tablespoon white vinegar or lemon juice to 1 cup regular milk. Let sit 5 minutes before using.
Can I make these muffins ahead of time? Absolutely! These muffins actually improve in flavor after sitting overnight. The chocolate and peanut butter flavors meld beautifully.
Why do my muffins have tunnels inside? Tunneling occurs from overmixing the batter. Mix wet and dry ingredients just until combined, leaving some small lumps.
Can I double this recipe? Yes, but bake in separate batches using the every-other-cup method. Don’t try to fit double batch in one pan.
Final Thoughts
These chocolate peanut butter muffins represent months of testing and refinement. The combination of proper technique and quality ingredients creates consistently impressive results.
The key to success lies in following each step precisely. Temperature timing, batter rest period, and strategic spacing all contribute to that perfect bakery-style appearance.
Whether you’re baking for family breakfast or special occasion treats, these muffins deliver every time. The rich chocolate base perfectly complements creamy peanut butter swirls in each heavenly bite.
Enjoy experimenting with variations once you’ve mastered the basic technique. These muffins have become my go-to recipe for impressing guests and satisfying chocolate cravings alike.
Ultimate Chocolate Peanut Butter Muffins
Ingredients
- 3 cups 360g all-purpose flour
- 1 cup 84g natural unsweetened cocoa powder
- 1½ cups 300g granulated sugar
- 4 tsp baking powder
- 1 tsp baking soda
- 1 tsp salt
- 3 large eggs
- 1½ cups 360ml buttermilk
- ½ cup 118ml vegetable oil
- 1 tsp vanilla extract
- ⅔ cup 167g creamy peanut butter
Instructions
- Combine flour, cocoa powder, sugar, baking powder, baking soda, and salt in medium bowl. Whisk thoroughly to eliminate lumps.
- In large mixing bowl, whisk eggs until smooth. Add buttermilk, vegetable oil, and vanilla extract. Stir until completely combined.
- Gradually fold dry ingredients into wet ingredients using rubber spatula. Mix just until combined – batter will be thick.
- Cover bowl with kitchen towel and let batter rest 15 minutes. Meanwhile, preheat oven to 425°F (220°C).
- Line 12-cup muffin pan with 6 paper liners, filling every other cup for proper spacing.
- Fill each liner with 2 tablespoons batter. Microwave peanut butter for 20-30 seconds until melty. Drop ½ tablespoon melted peanut butter into each cup and swirl with toothpick.
- Add remaining batter, filling liners to top. Top each with another ½ tablespoon peanut butter and swirl again.
- Bake at 425°F for 7 minutes. Reduce temperature to 350°F (180°C) without opening oven door. Continue baking 12-14 minutes until toothpick comes out clean.
- Cool in pan for 5 minutes before transferring to wire rack. Repeat with remaining batter.
Notes
Fill every other muffin cup to allow proper spreading and dome development
Fill liners completely to top for bakery-style height
Store in airtight container for up to 4 days or freeze up to 3 months
Can substitute crunchy peanut butter for different texture
Add ½ cup mini chocolate chips for extra chocolate flavor


